By
SpaceGhost
As with any forum you join, there is a requirement for an obligatory introduction... and that seems fair. How else do you get that first post in there without jumping in with some stupid question right out of nowhere?
Hi. I'm Space Ghost. Well, not really, but that was my call sign on my last deployment before an IED made me non-deployable, and I an now retired/disabled, and living on my wonderful VA disability. I did almost 28 years in total between the Army, Army Reserve, and National Guard. 1 deployment with the Reserve (Desert Storm) and 3 with the Guard (1 pre, and 2 post 9/11)
Married (going on 30 years) one of each. (both out of the nest)
My vehicle is (at least not yet) not a UTV, however, it is an ATV, A 2001 Kawasaki Prairie 400.
BTW, That's Brandy, my former PTS/TBI service dog on the bike. RIP old girl. She's internet famous. Perhaps you've seen her before...
The reason I'm here is that Arthritis is starting to set into my wounds and my mobility is getting worse. I will be selling the quad bike soon, and going with a SXS, and have selected a Can Am model as the replacement, so I figured I had better get on board a forum somewhere. Just put in for my Guard retirement, and will be very soon looking to get into a Commander 6x6.
Wouldn't mind having the Limited with the Hvac system, but am really not sure it's worth the extra 10 grand or not. Plus it's 500 pounds heavier, and I prefer the doors off in nice weather. It's so much easier when working in the yard, and so much more fun when on the trail.
Anyway, I'm here now, so it will help me research more and make up my mind. Plus once I have it, I'll be able to share stories about it and of course, continue to learn more, as it will be my 1st sxs. Still have time before I get my retirement. Takes a good 90 days at least according to the guy I talked to... Typical government efficiency... lol.


 By SpaceGhost
 By Jim Kessell
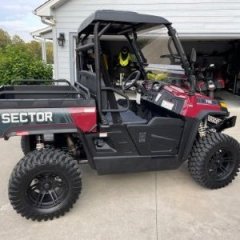 By Roadstar515
 By Prepper
 By fikey
Recommended Posts
Join the conversation
You can post now and register later. If you have an account, sign in now to post with your account.
Note: Your post will require moderator approval before it will be visible.